why make this recipe
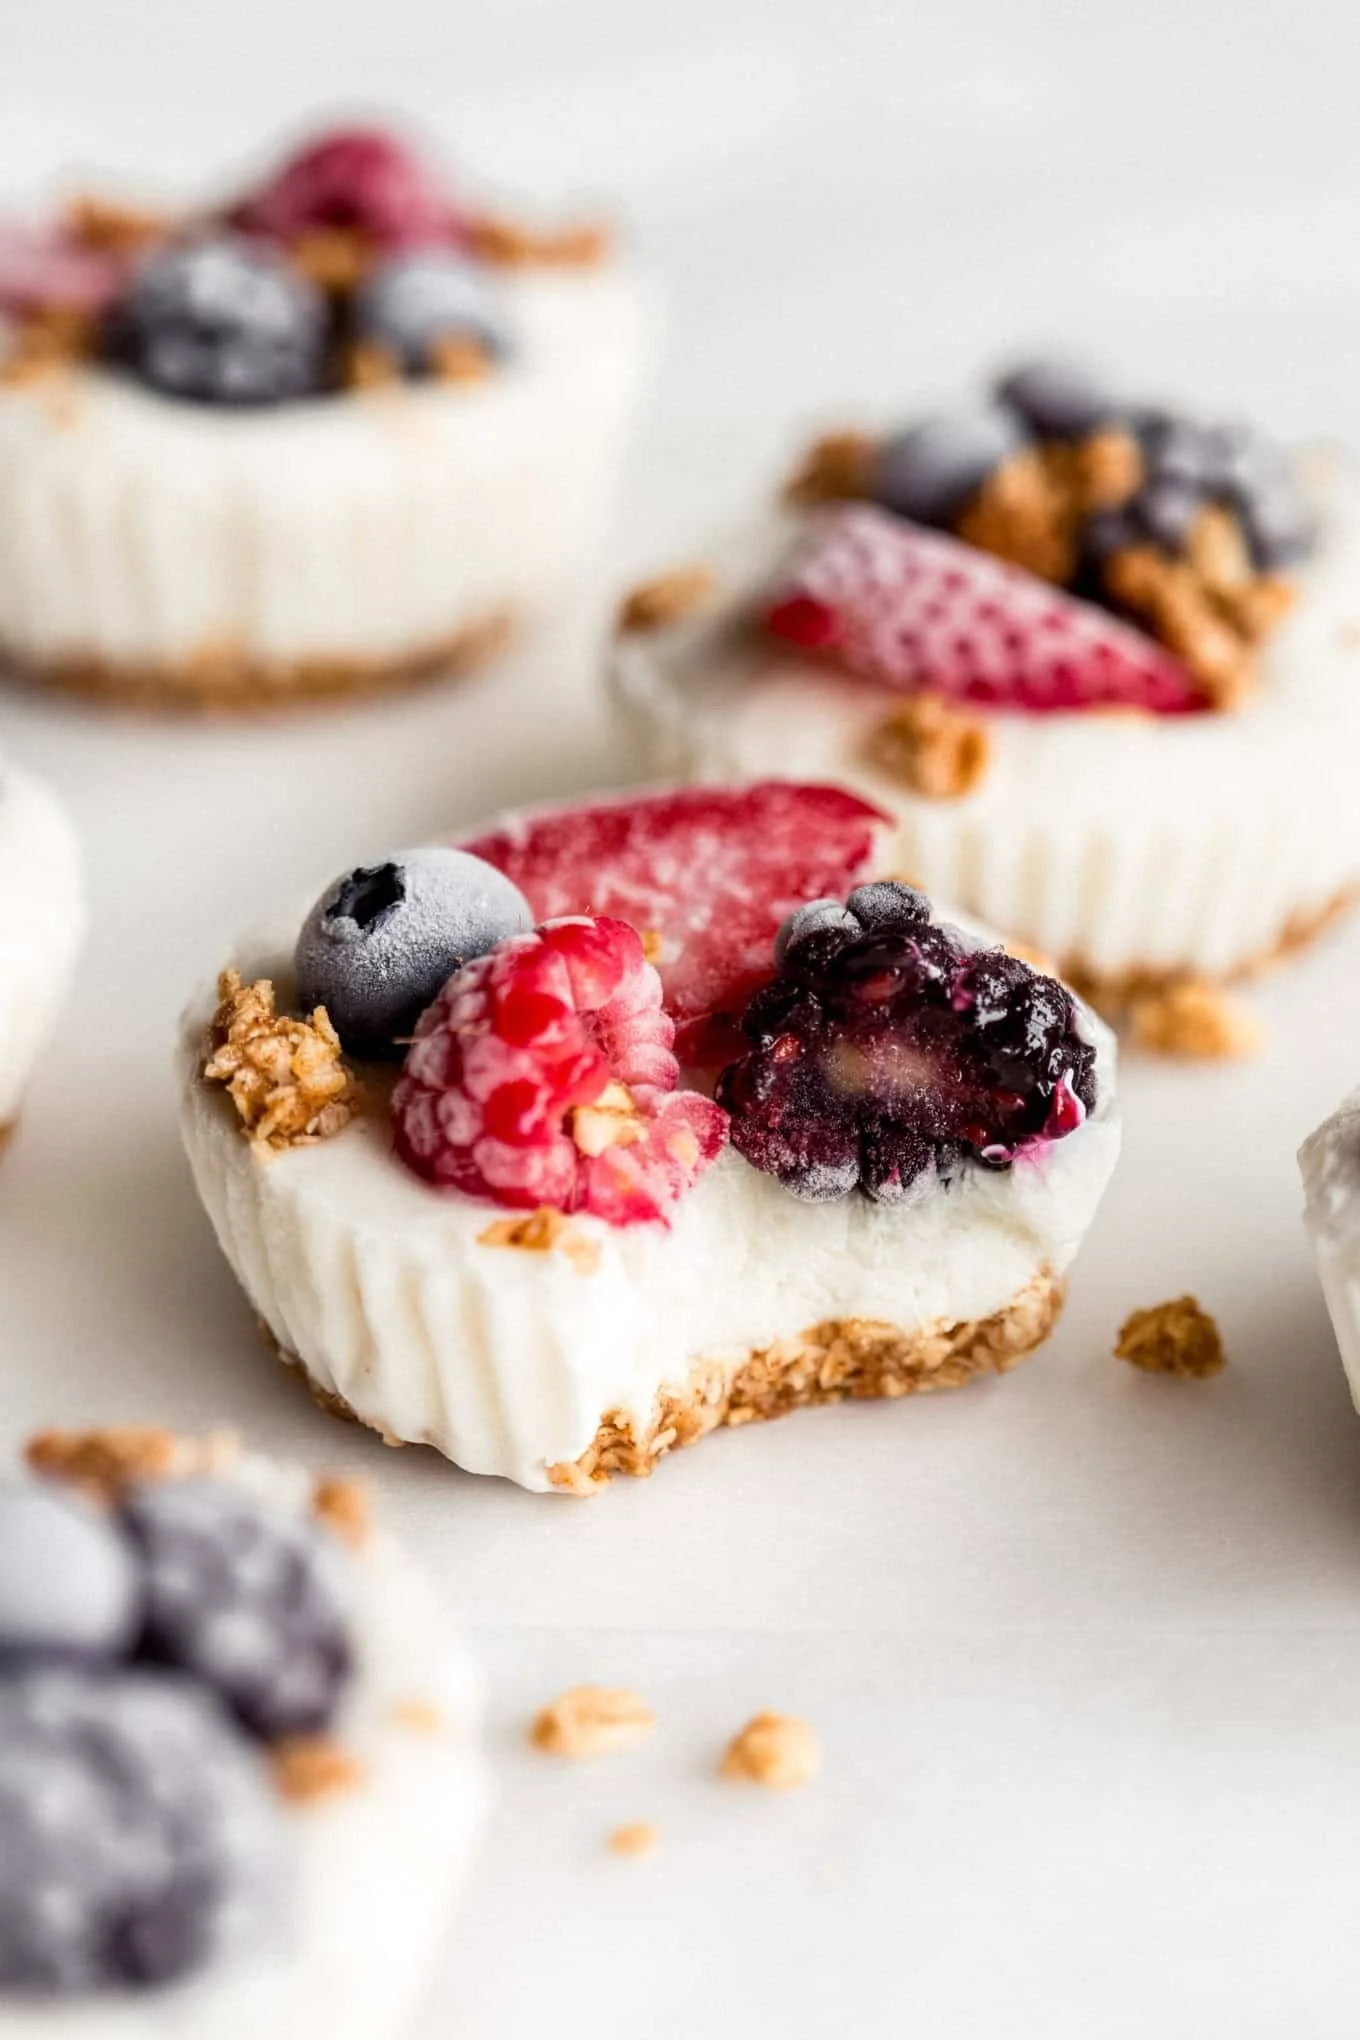
Frozen Yogurt Granola Cups are a delightful and healthy treat that everyone will love. They are perfect for a snack, dessert, or even breakfast. These cups are easy to make and pack a lot of nutrition. With creamy Greek yogurt, crunchy granola, and fresh berries, they make a refreshing option, especially on warm days. Plus, you can customize them with your favorite toppings!

how to make Frozen Yogurt Granola Cups
Ingredients:
- 3/4 cup oats
- 1/2 tsp cinnamon
- 1/4 cup almond butter
- 3-4 tbsp honey (depending on desired sweetness)
- 1 tsp vanilla extract
- 1 1/2 cups Greek yogurt* (see note)
- Berries of choice to top
Directions:
- Mix the oats, cinnamon, almond butter, honey, and vanilla extract together in a bowl until it forms a sticky dough. If the dough feels really dry, add more almond butter and honey.
- Line a muffin pan with muffin liners and add a spoonful of the granola dough into the bottom of each muffin cup. Press firmly with your fingers to make a sturdy base.
- Add a spoonful of yogurt to each cup, then top with berries and any leftover granola.
- Place in the freezer to set for at least 4 hours. Let thaw before serving.
how to serve Frozen Yogurt Granola Cups
Serve these cups directly from the freezer for a refreshing treat. They work well as a quick snack or a light dessert. You can serve them with extra berries or a drizzle of honey for added sweetness.

how to store Frozen Yogurt Granola Cups
Store the Frozen Yogurt Granola Cups in an airtight container in the freezer. They can last for about one month. Make sure to let them sit at room temperature for a few minutes before enjoying for the best texture.
tips to make Frozen Yogurt Granola Cups
- If you want a sweeter cup, feel free to increase the amount of honey.
- Mix in some seeds, like chia or flaxseeds, for added nutrition.
- Experiment with different nut butters like peanut butter or cashew butter for unique flavors.
variation
You can also try adding different flavors to your yogurt, such as vanilla or chocolate. For additional toppings, consider using coconut flakes, nuts, or even granola clusters for extra crunch.
FAQs
1. Can I use regular yogurt instead of Greek yogurt?
Yes, you can use regular yogurt, but Greek yogurt gives a thicker texture and creamier flavor.
2. What other fruits can I use on top?
You can use any fruits you like! Strawberries, blueberries, bananas, or even peaches work great.
3. Can I make these cups without honey?
Yes, you can use maple syrup or agave nectar as a sweet alternative if you prefer.

Frozen Yogurt Granola Cups
Ingredients
Method
- Mix the oats, cinnamon, almond butter, honey, and vanilla extract together in a bowl until it forms a sticky dough. If the dough feels really dry, add more almond butter and honey.
- Line a muffin pan with muffin liners and add a spoonful of the granola dough into the bottom of each muffin cup. Press firmly with your fingers to make a sturdy base.
- Add a spoonful of yogurt to each cup, then top with berries and any leftover granola.
- Place in the freezer to set for at least 4 hours. Let thaw before serving.
Notes

Name: Yumi HwagByline: Founder & Recipe Developer, YumimealsBio : Yumi tests weeknight-friendly air fryer, slow cooker, and BBQ recipes in a small home kitchen. She focuses on simple steps, real-family testing, and clear food-safety guidance. Contact: [email protected]