Why Make This Recipe
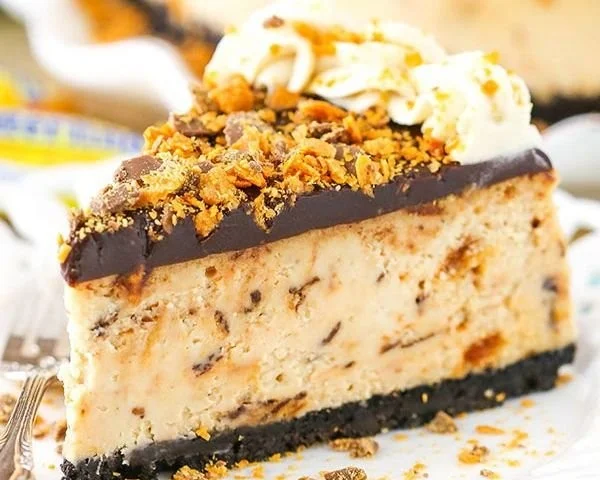
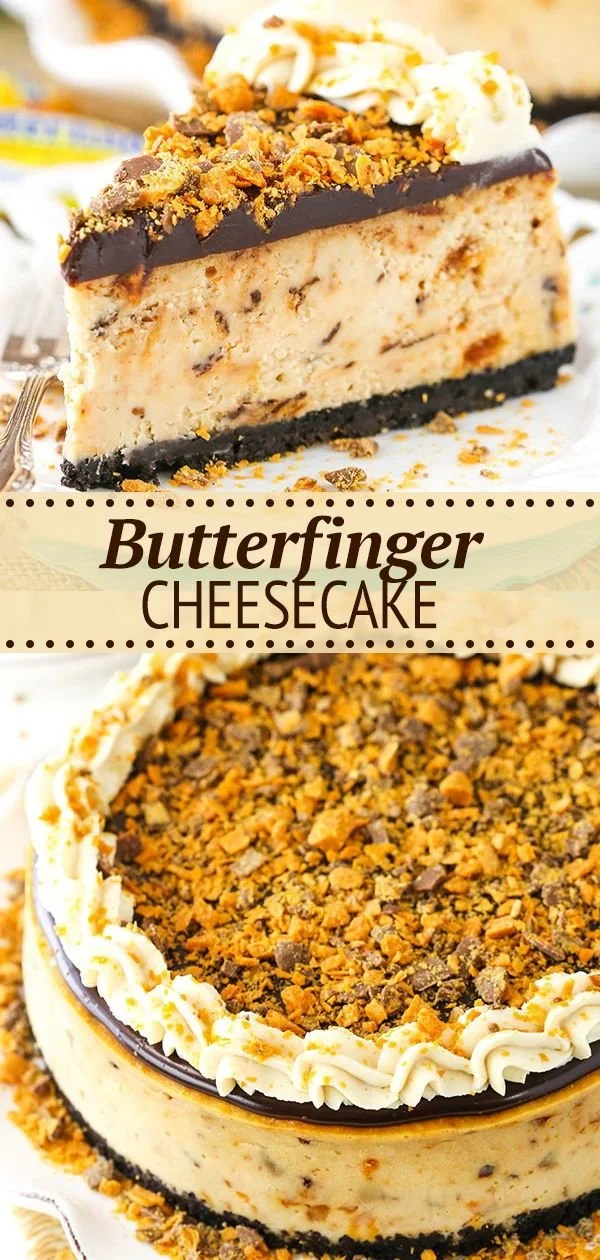
Butterfinger Cheesecake is a delicious treat that combines the rich flavors of cream cheese, peanut butter, and Butterfinger candy bars. This no-bake dessert is perfect for special occasions, family gatherings, or just a sweet snack at home. The combination of crunchy Oreo crust, creamy filling, and a chocolate ganache topping makes it hard to resist. Plus, it’s straightforward to make, even for beginners!
How to Make Butterfinger Cheesecake
Ingredients:
- 2 cups Oreo cookie crumbs
- 1/2 cup unsalted butter, melted
- 16 oz cream cheese, softened
- 1 cup peanut butter
- 1 cup powdered sugar
- 1 cup heavy cream
- 1 cup chopped Butterfingers
- 1 cup chocolate ganache
Directions:
- Preheat the oven to 325°F (160°C).
- In a mixing bowl, combine Oreo cookie crumbs and melted butter. Press the mixture into the bottom of a springform pan to form the crust.
- In another bowl, beat the cream cheese and peanut butter until smooth. Gradually add powdered sugar and mix well.
- In a separate bowl, whip the heavy cream until stiff peaks form, then fold it into the cream cheese mixture.
- Gently fold in the chopped Butterfingers.
- Pour the cheesecake filling into the prepared crust and smooth the top.
- Bake for 50-60 minutes until set.
- Let cool, then refrigerate for at least 4 hours or overnight.
- Once chilled, top with chocolate ganache and extra Butterfingers before serving.
How to Serve Butterfinger Cheesecake
Serve the Butterfinger Cheesecake chilled, straight from the fridge. You can cut it into slices and garnish each slice with additional chopped Butterfinger pieces or a drizzle of chocolate ganache for a beautiful presentation. It pairs well with a dollop of whipped cream if you want to add an extra touch!
How to Store Butterfinger Cheesecake
Keep any leftover cheesecake in the fridge. Cover the cheesecake tightly with plastic wrap or aluminum foil to keep it fresh. It will last for about 4 to 5 days in the refrigerator. If you want to store it for a longer time, consider freezing it. Make sure to wrap it well and place it in an airtight container. It can be frozen for up to 2 months.
Tips to Make Butterfinger Cheesecake
- Ensure the cream cheese is softened to room temperature for a smooth filling.
- If you can’t find Butterfingers, you can substitute with another type of chocolate bar or candy of your choice.
- Be careful not to overmix the whipped cream when folding it into the cream cheese mixture; this keeps the cheesecake light and fluffy.
Variation
For a different flavor twist, try using a chocolate cookie crust instead of Oreo. You can also experiment with different types of candy bars in the filling, like Reese’s Pieces or Snickers.
FAQs
1. Can I make this cheesecake ahead of time?
Yes! Butterfinger Cheesecake can be made a day in advance and stored in the refrigerator. This will allow the flavors to meld together.
2. Is there a way to make this recipe gluten-free?
Yes, you can use gluten-free Oreo cookies for the crust to make the cheesecake gluten-free.
3. Can I use a different topping besides chocolate ganache?
Absolutely! You can top the cheesecake with whipped cream, caramel sauce, or even a mix of crushed nuts for added texture.

Butterfinger Cheesecake
Ingredients
Method
- Preheat the oven to 325°F (160°C).
- In a mixing bowl, combine Oreo cookie crumbs and melted butter. Press the mixture into the bottom of a springform pan to form the crust.
- In another bowl, beat the cream cheese and peanut butter until smooth. Gradually add powdered sugar and mix well.
- In a separate bowl, whip the heavy cream until stiff peaks form, then fold it into the cream cheese mixture.
- Gently fold in the chopped Butterfingers.
- Pour the cheesecake filling into the prepared crust and smooth the top.
- Bake for 50-60 minutes until set.
- Let cool, then refrigerate for at least 4 hours or overnight.
- Once chilled, top with chocolate ganache and extra Butterfingers before serving.
Notes

Name: Yumi HwagByline: Founder & Recipe Developer, YumimealsBio : Yumi tests weeknight-friendly air fryer, slow cooker, and BBQ recipes in a small home kitchen. She focuses on simple steps, real-family testing, and clear food-safety guidance. Contact: [email protected]