why make this recipe
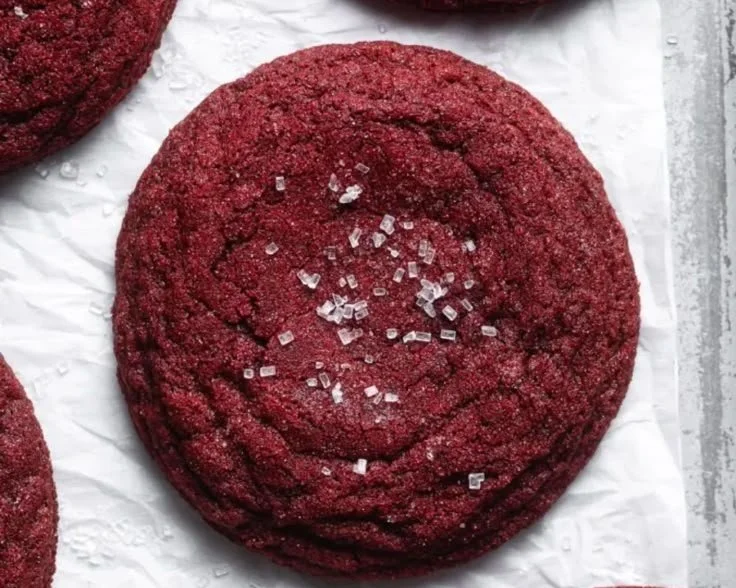
Red Velvet Cookies are a delightful twist on the classic red velvet cake. They are soft, chewy, and have a beautiful red color that makes them perfect for any occasion. The buttery flavor combined with hints of chocolate and vanilla creates a delicious treat that everyone will love. Plus, they can be made quickly and easily, making them a great choice for both beginners and experienced bakers.

how to make Red Velvet Cookies
Ingredients:
- 1 cup unsalted butter, softened
- 1 cup brown sugar
- 1/2 cup granulated sugar
- 1 large egg
- 1 teaspoon vanilla extract
- 2 cups all-purpose flour
- 1/2 cup cocoa powder
- 1 teaspoon baking soda
- 1/2 teaspoon salt
- 1 tablespoon red food coloring
- 1 cup white chocolate chips (optional)
Directions:
- Preheat your oven to 350°F (175°C).
- In a bowl, cream together the butter, brown sugar, and granulated sugar until smooth.
- Beat in the egg and vanilla.
- In another bowl, whisk together flour, cocoa powder, baking soda, and salt. Gradually add to the wet mixture.
- Stir in the red food coloring and mix until well combined.
- Fold in white chocolate chips if using.
- Drop spoonfuls of dough onto a lined baking sheet.
- Bake for 10-12 minutes or until the edges are set.
- Let cool on the baking sheet for a few minutes before transferring to a wire rack to cool completely.
how to serve Red Velvet Cookies
These cookies can be served warm or at room temperature. They pair wonderfully with a glass of milk or a cup of coffee. You can also enjoy them as part of a dessert platter or gift them to friends and family. For a festive touch, serve them with cream cheese frosting drizzled on top or alongside some chocolate-covered strawberries.

how to store Red Velvet Cookies
To keep your Red Velvet Cookies fresh, store them in an airtight container at room temperature for up to a week. If you want them to last longer, you can freeze them. Just make sure to place parchment paper between layers of cookies to prevent sticking. They can be frozen for up to three months—perfect for a sweet treat later on!
tips to make Red Velvet Cookies
- Make sure your butter is at room temperature for easy mixing.
- Don’t overbake the cookies; they should be soft in the center.
- For a more vibrant color, add a bit more red food coloring.
- If you want extra flavor, consider adding a pinch of cinnamon or nutmeg to the dry ingredients.
variation
You can customize your Red Velvet Cookies by adding different types of chocolate chips, nuts, or even sprinkles to the dough. For a fun twist, try using peppermint extract instead of vanilla for a seasonal flavor.
FAQs
1. Can I use butter substitutes?
Yes, you can use margarine or coconut oil as a substitute for butter, but this might alter the flavor and texture slightly.
2. What can I use instead of red food coloring?
If you prefer natural alternatives, beet juice or pomegranate juice can create a red color, but the shade may vary.
3. How can I make these cookies gluten-free?
You can use a gluten-free all-purpose flour blend in place of regular flour. Just check that it offers a 1:1 ratio with all-purpose flour.
Enjoy baking and indulging in your delicious Red Velvet Cookies!
Red Velvet Cookies
Ingredients
Method
- Preheat your oven to 350°F (175°C).
- In a bowl, cream together the butter, brown sugar, and granulated sugar until smooth.
- Beat in the egg and vanilla.
- In another bowl, whisk together flour, cocoa powder, baking soda, and salt.
- Gradually add the dry mixture to the wet mixture.
- Stir in the red food coloring and mix until well combined.
- Fold in white chocolate chips if using.
- Drop spoonfuls of dough onto a lined baking sheet.
- Bake for 10-12 minutes or until the edges are set.
- Let cool on the baking sheet for a few minutes before transferring to a wire rack to cool completely.
Notes

Name: Yumi HwagByline: Founder & Recipe Developer, YumimealsBio : Yumi tests weeknight-friendly air fryer, slow cooker, and BBQ recipes in a small home kitchen. She focuses on simple steps, real-family testing, and clear food-safety guidance. Contact: [email protected]