
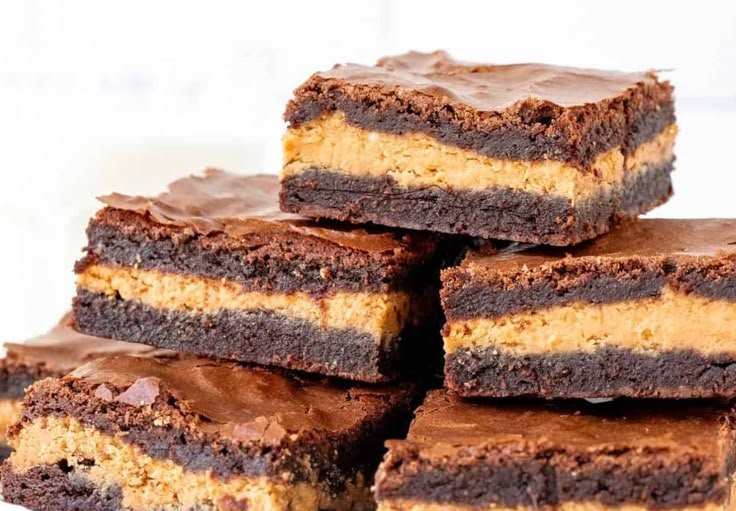
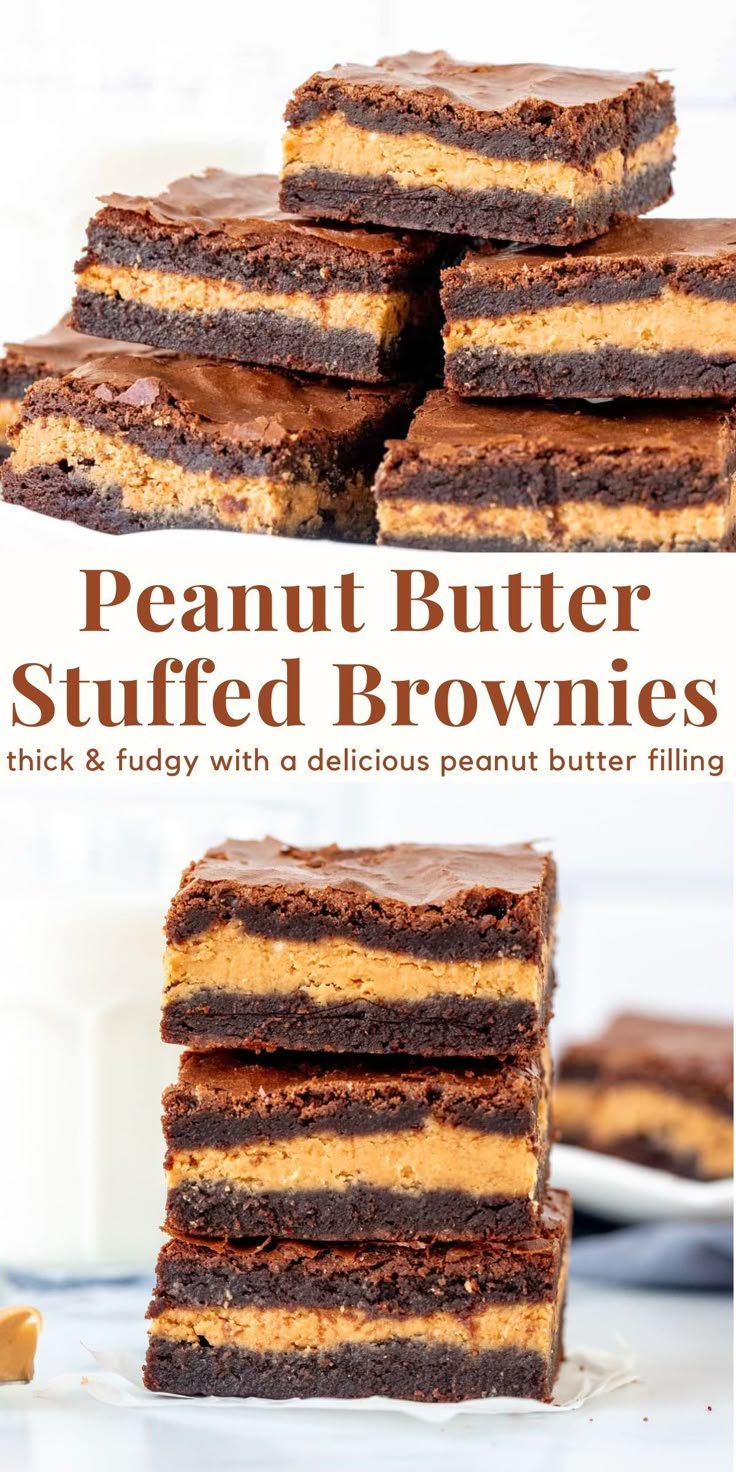
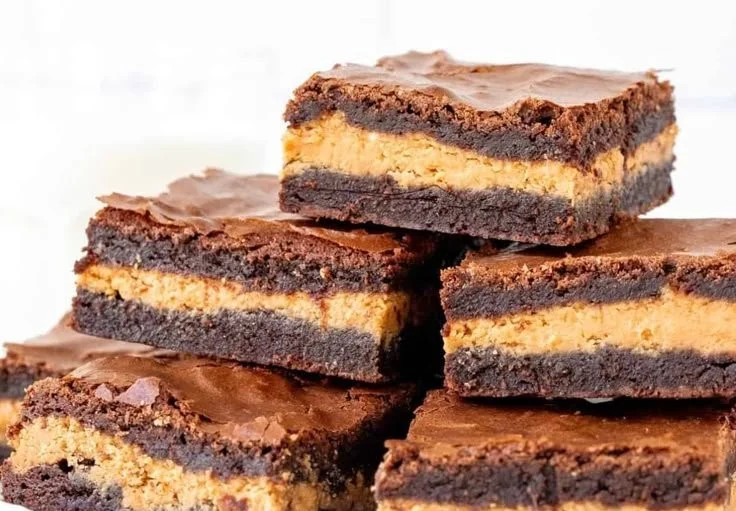
Peanut Butter Stuffed Brownies are a delightful treat that combines two favorite desserts into one. The rich, fudgy brownie base paired with a creamy peanut butter filling creates a dessert that is both indulgent and satisfying. Whether you’re making them for a special occasion or just to satisfy your sweet tooth, these brownies are sure to please.
Why make this recipe
This recipe is perfect for anyone who loves chocolate and peanut butter. The combination of flavors is irresistible, making it a fantastic dessert for gatherings, family dinners, or even just a cozy night in. Plus, it’s easy to make with simple ingredients that you might already have on hand. Impress your friends and family with these delicious brownies that look as good as they taste!
How to make Peanut Butter Stuffed Brownies
Ingredients:
- 1 cup unsalted butter
- 2 cups granulated sugar
- 4 large eggs
- 1 teaspoon vanilla extract
- 1 cup all-purpose flour
- 1 cup unsweetened cocoa powder
- 1/2 teaspoon salt
- 1 cup creamy peanut butter
- 1/2 cup confectioners’ sugar
Directions:
- Preheat the oven to 350°F (175°C) and grease a baking pan.
- In a large bowl, melt the butter and stir in the sugar until well combined.
- Add the eggs one at a time, mixing well after each addition. Stir in the vanilla.
- In another bowl, whisk together the flour, cocoa powder, and salt. Gradually add the dry ingredients to the wet mixture until fully combined.
- In a separate bowl, mix the peanut butter and confectioners’ sugar until smooth.
- Spread half of the brownie batter into the prepared pan, then dollop the peanut butter mixture over it, spreading it evenly.
- Top with the remaining brownie batter, spreading it over the peanut butter layer.
- Bake for 25-30 minutes or until a toothpick comes out mostly clean.
- Allow to cool before slicing and serving.
How to serve Peanut Butter Stuffed Brownies
These brownies can be served warm or at room temperature. They are great on their own, but you can also add a scoop of vanilla ice cream or a drizzle of chocolate sauce for an extra treat. Cut them into squares or rectangles for easy serving.
How to store Peanut Butter Stuffed Brownies
Store any leftovers in an airtight container at room temperature for up to three days. If you want to keep them longer, you can refrigerate them for about a week. They can also be frozen for up to three months. Just wrap them well in plastic wrap and place them in a freezer-safe container.
Tips to make Peanut Butter Stuffed Brownies
- Make sure to measure the ingredients accurately for the best results.
- Don’t overmix the brownie batter; mix just until combined for a chewy texture.
- If you prefer a stronger peanut butter flavor, consider adding chopped peanut pieces to the filling.
Variation
You can add chocolate chips to the brownie batter for extra chocolatey goodness. Alternatively, try using crunchy peanut butter for more texture.
FAQs
Can I use a different type of nut butter?
Yes, you can replace peanut butter with almond butter, cashew butter, or any nut butter you like.
What can I do if I don’t have unsweetened cocoa powder?
You can substitute it with sweetened cocoa powder but reduce the sugar in the recipe slightly to balance the sweetness.
Can I make these brownies gluten-free?
Yes! Use a gluten-free all-purpose flour blend in place of regular flour for a gluten-free version of these brownies.
Peanut Butter Stuffed Brownies
Ingredients
Method
- Preheat the oven to 350°F (175°C) and grease a baking pan.
- In a large bowl, melt the butter and stir in the sugar until well combined.
- Add the eggs one at a time, mixing well after each addition. Stir in the vanilla.
- In another bowl, whisk together the flour, cocoa powder, and salt. Gradually add the dry ingredients to the wet mixture until fully combined.
- In a separate bowl, mix the peanut butter and confectioners' sugar until smooth.
- Spread half of the brownie batter into the prepared pan, then dollop the peanut butter mixture over it, spreading it evenly.
- Top with the remaining brownie batter, spreading it over the peanut butter layer.
- Bake for 25-30 minutes or until a toothpick comes out mostly clean.
- Allow to cool before slicing and serving.
Notes

Name: Yumi HwagByline: Founder & Recipe Developer, YumimealsBio : Yumi tests weeknight-friendly air fryer, slow cooker, and BBQ recipes in a small home kitchen. She focuses on simple steps, real-family testing, and clear food-safety guidance. Contact: [email protected]