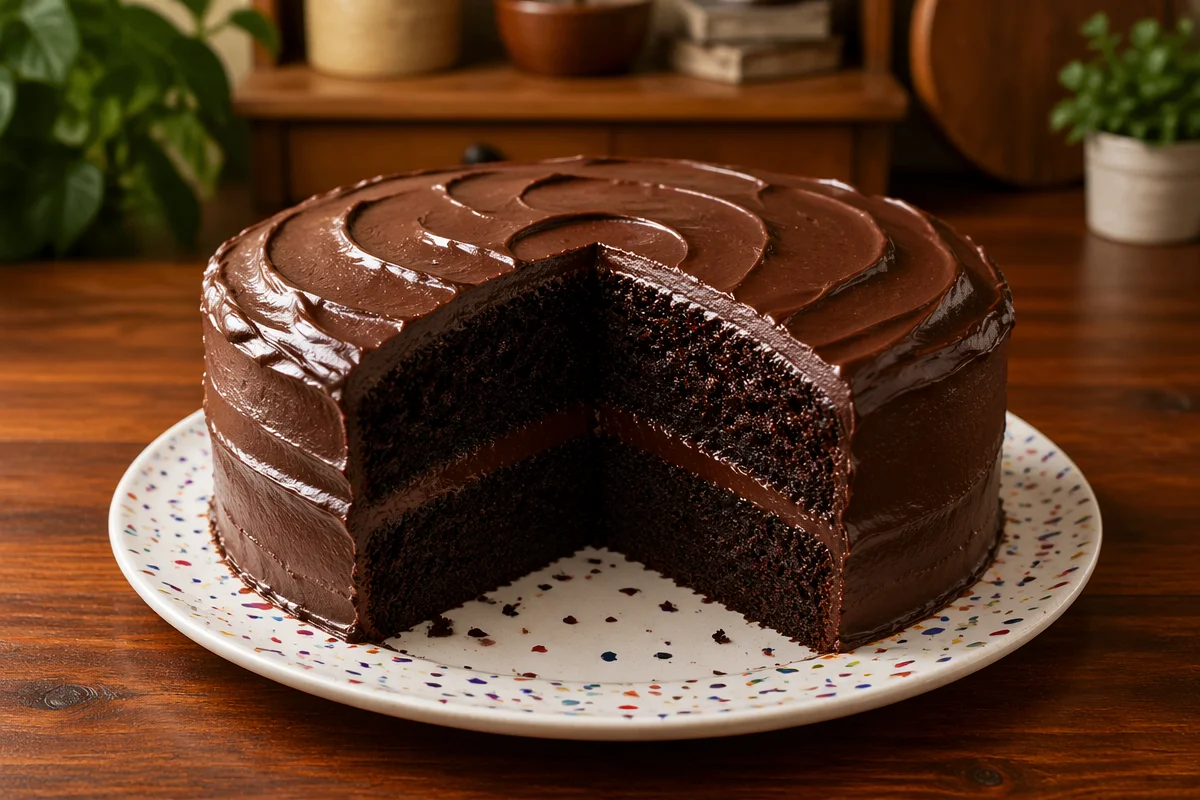
chocolate cake with cocoa powder is one of those things I crave when I want something cozy but I do not want to run to the store for fancy chocolate bars. Maybe you have a can of cocoa powder sitting in the pantry and you are wondering if it can really make a cake that tastes rich and bakery level. I have been there, with a last minute birthday, a rainy weekend, or just a rough Tuesday. The good news is that cocoa powder can make a deeply chocolatey cake if you treat it right and follow a few simple rules. I am going to walk you through my go to tips so you get a cake that is moist, soft, and honestly hard to stop eating.
WHAT MAKES THIS THE BEST MOIST CHOCOLATE CAKE RECIPE
I have baked a lot of chocolate cakes over the years. Some were dry by day two, some tasted flat, and a few sank in the middle like they were embarrassed to be served. This version became my keeper because it is dependable and it uses ingredients I can grab almost anywhere.
The big secret is balance. Cocoa powder gives you that bold chocolate flavor, but it can also make cakes taste a little dry if the recipe does not include enough moisture and fat. So I build in moisture from a few places and I keep the mixing gentle.
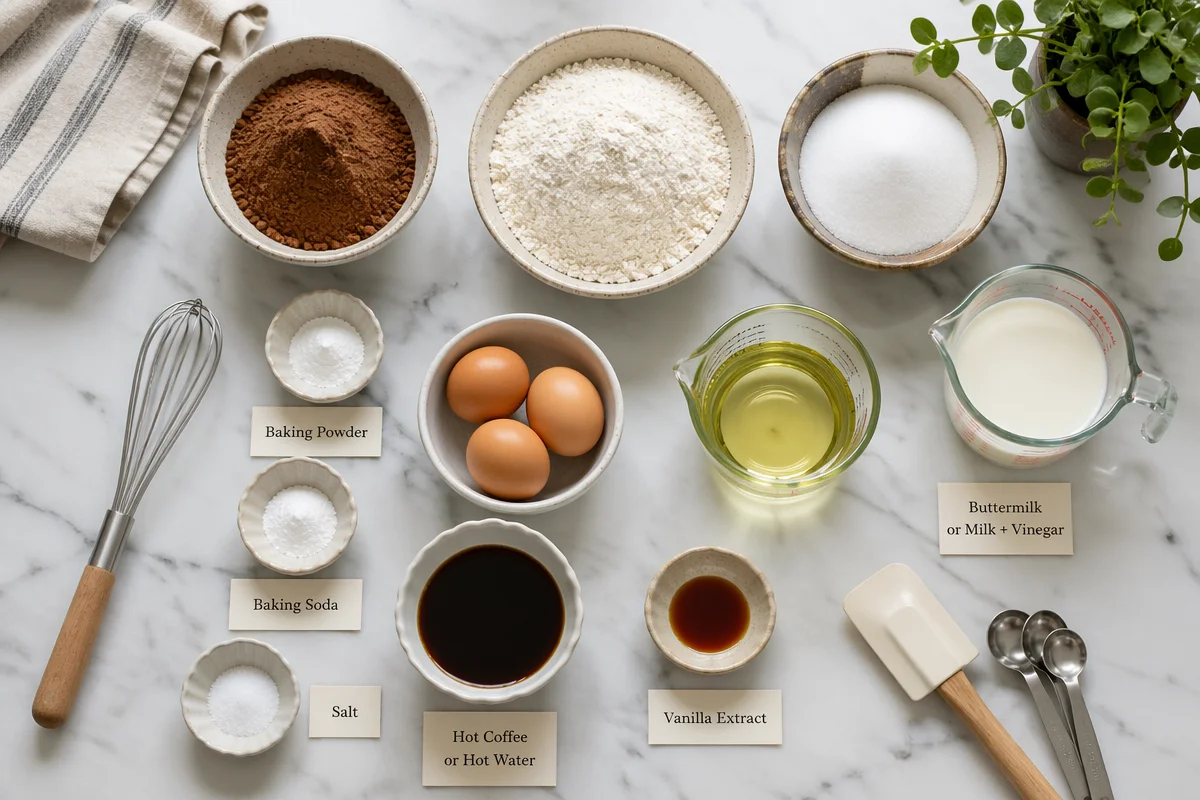
What you will need (simple pantry list)
- Unsweetened cocoa powder (natural or Dutch processed, either works with the right tweaks)
- All purpose flour
- Sugar (white sugar works, or a mix of white and brown for extra softness)
- Baking powder and baking soda
- Salt (do not skip, it wakes up the chocolate)
- Eggs
- Neutral oil (my favorite for moist texture)
- Buttermilk or milk with a splash of vinegar
- Hot coffee or hot water (coffee makes it taste more chocolatey)
- Vanilla
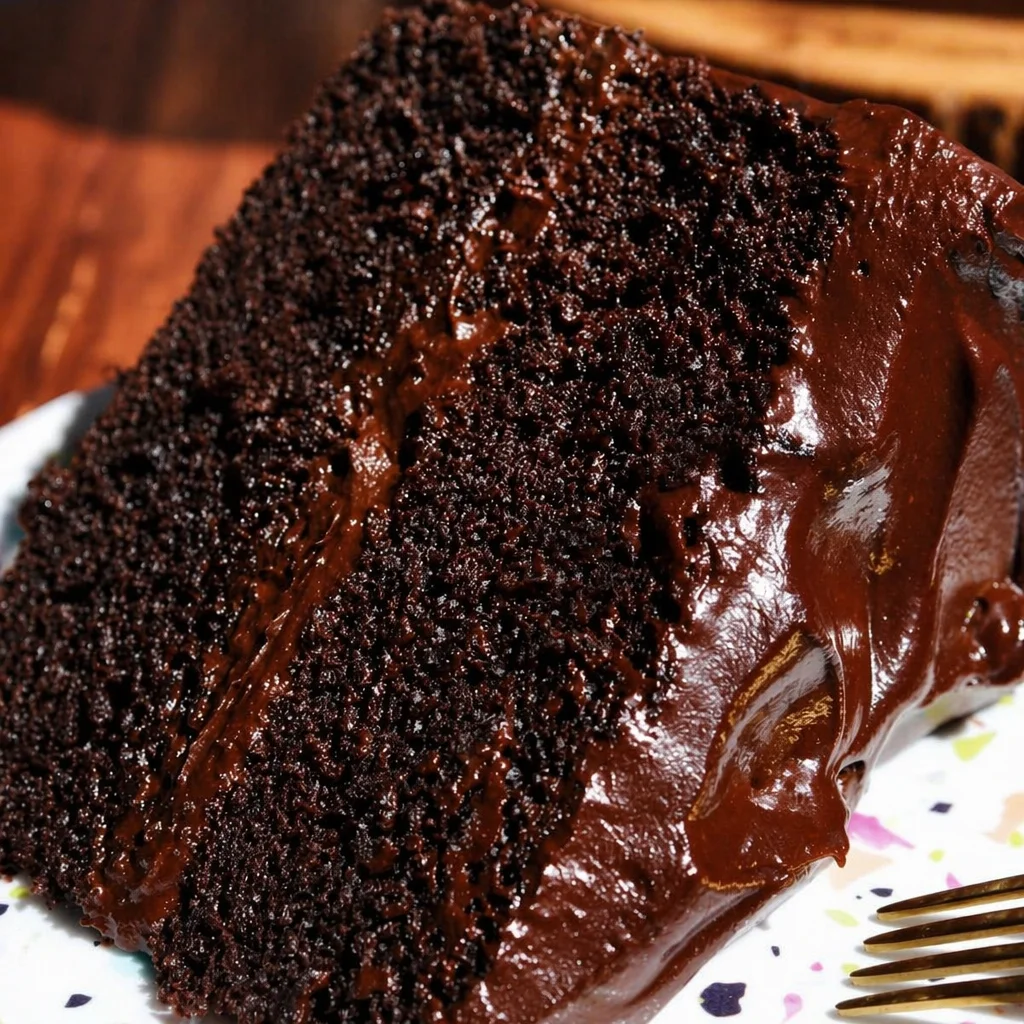
And here is what makes it feel extra irresistible in real life. Oil keeps the crumb soft even after chilling. Buttermilk adds tenderness and a little tang. Hot liquid “blooms” the cocoa so it smells like brownies before it even bakes. When people ask why my chocolate cake tastes so strong, that is a big part of it.
My quick promise to you: if you follow the tips below, you will end up with a cake that stays moist and slices clean, but still feels plush when you bite in. That is the kind of cake that disappears at potlucks, even when there are other desserts nearby.
HOW TO MAKE THE BEST MOIST CHOCOLATE CAKE
This is where the 7 tips come in. Think of these like little guardrails that keep you from ending up with a dry cake or a bitter cocoa bite. None of them are hard, but together they make a huge difference for baking chocolate cake with cocoa powder.
My 7 irresistible tips (the stuff I actually do every time)
Tip 1: Measure cocoa and flour gently. I know, measuring sounds boring. But packing flour into a cup is the fastest path to dry cake. Spoon it into the cup and level it off. If you have a kitchen scale, even better. Cocoa powder can clump too, so give it a quick sift or whisk.
Tip 2: Bloom the cocoa with hot coffee or water. This is my favorite trick because it feels like magic. Mix cocoa powder with hot coffee (or hot water) until smooth, then add it into the batter. The smell alone will convince you this is worth doing.
Tip 3: Use oil for moisture, not just butter. Butter tastes great, but oil keeps cakes moist for days. I usually use neutral oil. If you love butter flavor, you can do half oil and half melted butter, but do not go all butter if you want that super soft texture.
Tip 4: Do not overmix once the flour goes in. Mix until you do not see dry streaks, then stop. Overmixing can make the cake feel tight and a little chewy, and nobody wants that from a chocolate cake.
Tip 5: Choose the right pan and prep it well. Two 8 inch or 9 inch round pans are classic. Grease, line with parchment, then lightly dust with cocoa powder instead of flour. Cocoa dusting keeps the outside looking dark and pretty.
Tip 6: Bake just until done. Set a timer and start checking early. A toothpick should come out with a few moist crumbs, not wet batter. If it comes out totally clean, you might already be heading toward dry.
Tip 7: Cool completely before frosting. I have rushed this more times than I want to admit. Warm cake plus frosting equals a slippery mess. Let the layers cool, then chill them for 20 minutes if you want cleaner frosting and easier stacking.
If you are a “I just want the steps” kind of person, here is my usual flow. It keeps things simple and repeatable, which is what you want when you are baking for real people and real schedules.
- Heat oven and prep pans
- Whisk dry ingredients in one bowl
- Whisk eggs, sugar, oil, and buttermilk in another bowl
- Stir in bloomed cocoa mixture and vanilla
- Combine wet and dry gently
- Bake, cool, frost
Once you get comfortable, you can play with it. Add a handful of chocolate chips. Swap coffee for espresso. Add a pinch of cinnamon if you like a warm vibe. The base stays solid, which is why I keep coming back to it for baking chocolate cake with cocoa powder.
BAKING SCIENCE: WHY THIS RECIPE WORKS
I am not a food scientist, but I have messed up enough cakes to learn what matters. Here is the simple reasoning behind the moist texture and deep chocolate flavor.
Cocoa powder needs moisture. Cocoa is dry and it is thirsty. When you bloom it with hot liquid, you help it dissolve and spread through the batter evenly. That is why the cake tastes more chocolatey instead of dusty.
Oil stays liquid. Butter firms up when it cools. Oil does not. That is why an oil based cake can feel softer straight from the fridge. This is a huge win if you like to make cakes a day ahead.
Acid plus baking soda gives lift. Buttermilk has acidity. When it meets baking soda, it creates bubbles that help the cake rise and stay tender. It is a small reaction, but you can see it in the crumb.
Sugar helps hold moisture. Sugar is not only sweetness. It also helps keep the cake from drying out quickly, especially if your kitchen is warm or your cake sits out for a while.
Salt boosts chocolate. I know it sounds odd, but a little salt makes cocoa taste more like itself. Without it, chocolate desserts can taste flat.
All of this is why you can get a bakery style result at home, even if you are using cocoa powder instead of melted chocolate. And yes, you can absolutely get a rich crumb when you are baking chocolate cake with cocoa powder as long as the recipe is built for it.
EXPERT BAKING TIPS
This is the part where I share the little things I only learned after repeating the recipe a bunch of times. These are the “save your cake” notes.
Use room temperature eggs and buttermilk if you can. Cold ingredients can make the batter look slightly curdled. It usually still bakes fine, but room temp ingredients mix more smoothly.
Natural vs Dutch processed cocoa. Natural cocoa is more acidic and tastes a bit sharper. Dutch processed is smoother and darker. If your recipe uses baking soda and buttermilk, natural cocoa fits perfectly. If you only have Dutch processed, it can still work, but make sure your recipe includes baking powder too, so you still get a good rise.
Do not fear a thin batter. Some cocoa powder cakes have a thinner batter once you add hot coffee or water. That is normal. The cake bakes up moist and light, not dense.
Level your layers for a neat stack. If the tops dome, I let the layers cool completely, then trim with a long serrated knife. Snack on the scraps, obviously.
Frosting choices that fit. If you want simple, do a chocolate buttercream. If you want something that feels fancy but is easy, do a ganache drip. If you want ultra moist vibes, try a chocolate sour cream frosting. The cake can handle any of them.
Make it ahead without stress. I often bake the layers the night before. Wrap them well once cool. Frost the next day. The flavor gets even better overnight, which is a very underrated baking win.
STORAGE AND FREEZING
I am big on not wasting cake. Also, having a slice tucked away for later feels like a tiny gift from past you.
Room temperature: If your frosting is stable (like buttercream), you can keep the cake covered at room temp for about 2 days. Keep it away from sunlight and heat.
Refrigerator: If you used a cream cheese frosting or something lighter, refrigerate it. Cover it well so it does not pick up fridge smells. Let slices sit out for 20 to 30 minutes before eating so the texture softens.
Freezing frosted cake: Freeze slices on a tray until firm, then wrap each slice and store in a freezer bag. This is my favorite way because you can thaw exactly what you want.
Freezing unfrosted layers: Wrap each cooled layer in plastic wrap, then in foil. Freeze up to 2 to 3 months. Thaw still wrapped at room temp, then frost. The cake stays surprisingly moist, which is another reason I love baking chocolate cake with cocoa powder. It holds up well.
Common Questions
1) Can I use hot water instead of coffee?
Yes. Coffee just makes the chocolate taste deeper. Hot water still blooms the cocoa and gives you a great cake.
2) Why did my cake turn out dry?
Most often it is too much flour, overbaking, or overmixing. Try spooning and leveling flour, checking the cake earlier, and mixing only until combined.
3) Can I make this into cupcakes?
Absolutely. Fill liners about two thirds full and start checking around 16 to 18 minutes. They are done when a toothpick shows a few moist crumbs.
4) What cocoa powder should I buy?
Any unsweetened cocoa powder works. If you bake a lot, pick one that smells rich when you open it. That is usually a good sign. Natural cocoa is a safe, flexible choice.
5) How do I make it extra moist?
Do not overbake, use oil, and consider adding a simple chocolate milk soak (just a few spoonfuls brushed on the layers). It sounds small, but it helps.
One last pep talk before you preheat that oven
If you remember nothing else, remember this: bloom your cocoa, do not overmix, and do not overbake. Those three habits alone will improve your cake fast. Once you nail it, you will feel weirdly proud because it tastes like you tried much harder than you did. Go grab that cocoa powder and make it happen, and if you can, save one slice for tomorrow. You will thank yourself.
Moist Chocolate Cake
Ingredients
Method
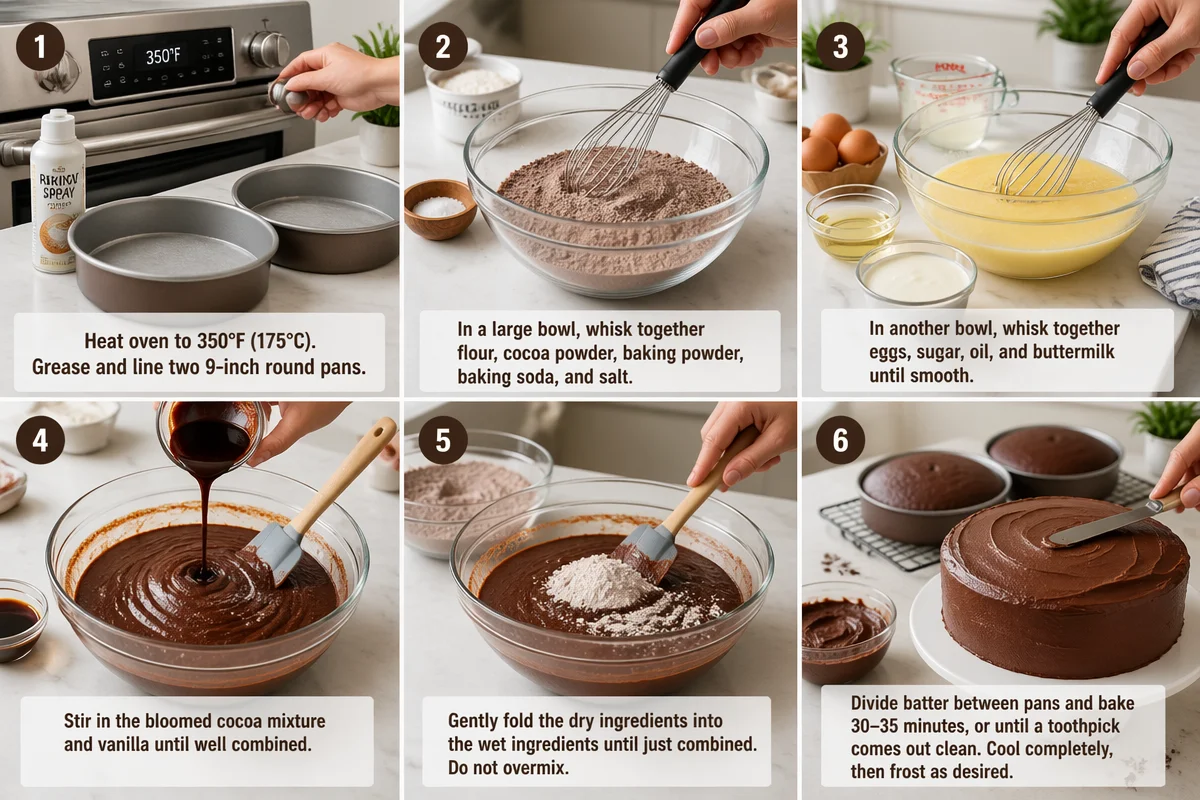
- Preheat the oven to 350°F (175°C) and prepare two 8 or 9-inch round pans by greasing them, lining with parchment paper, and lightly dusting with cocoa powder.
- In a large bowl, whisk together the dry ingredients: cocoa powder, flour, sugar, baking powder, baking soda, and salt.
- In another bowl, mix the wet ingredients: eggs, sugar, oil, and buttermilk until smooth.
- Bloom the cocoa by mixing it with hot coffee or hot water until smooth, then add to the wet mixture along with vanilla extract.
- Gently combine the wet and dry mixtures until no dry streaks remain. Be careful not to overmix.
- Pour the batter evenly into the prepared pans.
- Bake in the preheated oven for 30-35 minutes until a toothpick inserted comes out with a few moist crumbs.
- Let the cakes cool in the pans for 10 minutes, then transfer to wire racks to cool completely.
- Once cooled, frost with your preferred frosting.
Notes

Name: Yumi HwagByline: Founder & Recipe Developer, YumimealsBio : Yumi tests weeknight-friendly air fryer, slow cooker, and BBQ recipes in a small home kitchen. She focuses on simple steps, real-family testing, and clear food-safety guidance. Contact: [email protected]