# Homemade No-Bake Granola Bars: A Delicious and Easy Snack

Looking for a snack that’s both nutritious and delicious? Say hello to these homemade no-bake granola bars! They’re perfect for busy mornings, afternoon pick-me-ups, or a tasty post-workout treat. With just a handful of simple ingredients, you can whip up a batch in no time. Plus, they’re customizable to suit your taste and dietary needs. Imagine biting into a chewy, oat-filled bar loaded with nuts, seeds, and a hint of sweetness. It’s pure bliss in every bite! In this post, I'm going to walk you through how to create these delightful snacks that you’ll want to keep on hand. Grab your mixing bowl—we’re about to get started!

## Why You’ll Love This Recipe

- **Quick & Easy**: No baking required; just mix, press, and chill!
- **Customizable**: Add your favorite fruits, nuts, and seeds.
- **Healthy Snacking**: Packed with fiber and protein.
- **Kid-Friendly**: Perfect for lunch boxes or after-school snacks.
- **Budget-Friendly**: Save money compared to store-bought options.

## Ingredients

- 2 cups rolled oats
- 1 cup nut butter (peanut, almond, or sunflower)
- 1/2 cup honey or maple syrup
- 1/2 cup mini chocolate chips (optional)
- 1/2 cup chopped nuts (almonds, walnuts, or pecans)
- 1/2 cup dried fruit (raisins, cranberries, or apricots)
- 1 tsp vanilla extract
- A pinch of salt

## Step-by-Step Instructions

1. **Prepare the pan**: Line an 8x8-inch baking dish with parchment paper, leaving some overhang for easy removal later.

2. **Mix dry ingredients**: In a large bowl, combine the rolled oats, chopped nuts, and a pinch of salt. Stir everything together until mixed.

3. **Combine wet ingredients**: In a separate bowl, whisk together the nut butter, honey (or maple syrup), and vanilla extract until smooth. If your nut butter is thick, microwave it for about 15 seconds to make mixing easier.

4. **Combine both mixtures**: Pour the wet mixture into the dry ingredients. Add the chocolate chips and dried fruit if using. Stir until everything is thoroughly combined.

5. **Press the mixture into the pan**: Transfer the mixture to the prepared baking dish. Using a spatula or your hands, press the mixture firmly and evenly into the pan.

6. **Chill**: Place the dish in the refrigerator for at least 1 hour to allow the bars to set.

7. **Slice and serve**: Once set, remove the mixture from the pan using the overhanging parchment paper. Cut into bars of your desired size and serve!

## Pro Tips

- **Press firmly**: Make sure to pack the mixture tightly in the pan; this helps the bars hold their shape.
- **Chill longer for firmer bars**: If you prefer a firmer texture, chill the bars for a few extra hours or overnight.
- **Experiment**: Feel free to swap out ingredients based on what you have on hand.

## Variations & Substitutions

- **Nut-Free**: Use sunflower seed butter instead of nut butter for a nut-free version.
- **Add Protein**: Mix in protein powder for an extra boost.
- **Different Sweeteners**: Coconut nectar or agave syrup can replace honey or maple syrup.

## What to Serve With It

These homemade no-bake granola bars pair well with a side of fresh fruit or a dollop of yogurt. They also make for a fantastic complement to your morning coffee or afternoon tea!

## Storage & Reheating Instructions

Store your granola bars in an airtight container in the refrigerator for up to two weeks. For longer shelf life, they can be frozen for up to three months. Just thaw in the fridge or at room temperature before enjoying!

## Nutrition Information (approximate per serving)

- Calories: 150
- Protein: 4g
- Fat: 6g
- Carbohydrates: 22g
- Fiber: 3g
- Sugar: 5g

## FAQs

**1. Can I use quick oats?**
Yes, but rolled oats provide a better texture.

**2. How do I make these bars vegan?**
Simply replace honey with maple syrup and use a vegan-friendly nut butter.

**3. Can I make these grain-free?**
Absolutely! Substitute the oats with a mix of crushed nuts and seeds.

**4. How do I know when the bars are set?**
They should feel firm and hold their shape when cut. If they're still soft after chilling, let them sit longer.

## Conclusion

These homemade no-bake granola bars are the perfect snack for anyone looking to eat healthier without sacrificing taste. They're simple, delicious, and packed with nutrition. So why not give this recipe a try today? Trust me, once you make your own no-bake granola bars, you'll never go back to store-bought! Share your creations by tagging me on social media; I can’t wait to see what you whip up!
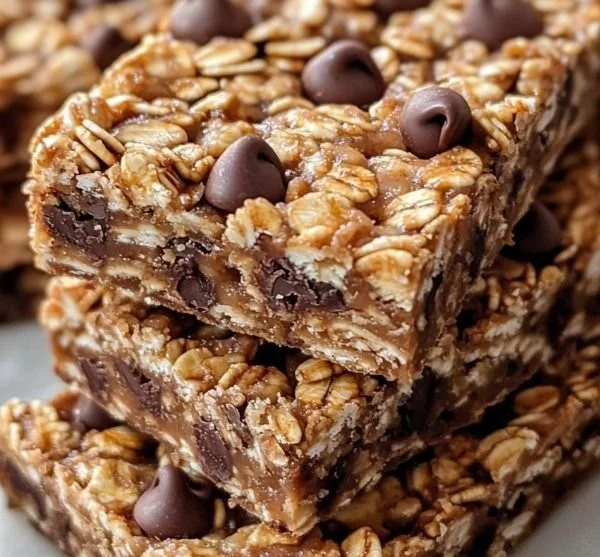
No-Bake Granola Bars
Delicious and nutritious no-bake granola bars that are customizable and perfect for snacks, packed with oats, nuts, and sweetness.
Ingredients
Method
Preparation
- Line an 8x8-inch baking dish with parchment paper, leaving some overhang for easy removal later.
- In a large bowl, combine the rolled oats, chopped nuts, and a pinch of salt. Stir everything together until mixed.
- In a separate bowl, whisk together the nut butter, honey (or maple syrup), and vanilla extract until smooth. If your nut butter is thick, microwave it for about 15 seconds to make mixing easier.
- Pour the wet mixture into the dry ingredients. Add chocolate chips and dried fruit if using. Stir until everything is thoroughly combined.
- Transfer the mixture to the prepared baking dish. Using a spatula or your hands, press the mixture firmly and evenly into the pan.
- Place the dish in the refrigerator for at least 1 hour to allow the bars to set.
- Once set, remove the mixture from the pan using the overhanging parchment paper. Cut into bars of your desired size and serve!
Notes
Press the mixture tightly in the pan for bars to hold their shape. Chill longer for a firmer texture. Experiment with ingredients based on availability.

Name: Yumi HwagByline: Founder & Recipe Developer, YumimealsBio : Yumi tests weeknight-friendly air fryer, slow cooker, and BBQ recipes in a small home kitchen. She focuses on simple steps, real-family testing, and clear food-safety guidance. Contact: [email protected]