# Homemade Cheez-Its: The Ultimate Snack
If you’re like me, snack time often calls for something crunchy, cheesy, and undeniably delicious. Enter **homemade Cheez-Its**! This easy recipe will fill your kitchen with the heavenly aroma of cheese and nostalgia, transporting you back to simpler snack days. The best part? You can whip them up in no time, and they taste ten times better than those store-bought options!
Imagine biting into a crisp, cheesy square that’s literally made with love. This homemade version of Cheez-Its blends real cheese with pantry staples, ensuring that every bite is as flavorful as the last. Plus, you can customize them to your heart's content. So, grab your apron, and let’s dive into this fun and satisfying recipe for **homemade Cheez-Its** that's bound to impress your family and friends!
## Why You’ll Love This Recipe
- **Quick & Easy**: Ready in under 30 minutes.
- **Homemade Goodness**: Say goodbye to artificial ingredients.
- **Customizable**: Add your favorite spices for a personal twist.
- **Perfect Snack**: Ideal for parties, movie nights, or just snacking!
- **Great for Kids**: Fun to make and even more fun to eat!
## Ingredients
- 1 cup sharp cheddar cheese, grated (about 4 ounces)
- 1/2 cup all-purpose flour
- 1/4 cup unsalted butter, softened
- 1/2 teaspoon salt
- 1/8 teaspoon cayenne pepper (optional)
- 3-4 tablespoons cold water
## Step-by-step Instructions
1. Preheat your oven to 350°F (175°C) and line a baking sheet with parchment paper.
2. In a mixing bowl, combine the grated cheddar cheese, flour, butter, salt, and cayenne pepper. Mix until it resembles coarse crumbs.
3. Gradually add cold water, one tablespoon at a time, until the dough begins to form. You might not need all the water.
4. Roll the dough out on a lightly floured surface until it's about 1/8 inch thick.
5. Use a pizza cutter or sharp knife to cut the dough into squares (about 1 inch).
6. Transfer the squares to the prepared baking sheet, leaving a small space between each.
7. Bake for 15-20 minutes or until golden brown and crisp. Keep an eye on them to avoid burning!
8. Remove from the oven and let them cool before enjoying!
## Pro Tips
- Use fresh grated cheese for the best flavor; pre-grated cheese often has additives that can affect texture.
- Bake a test batch first to adjust the seasoning to your taste.
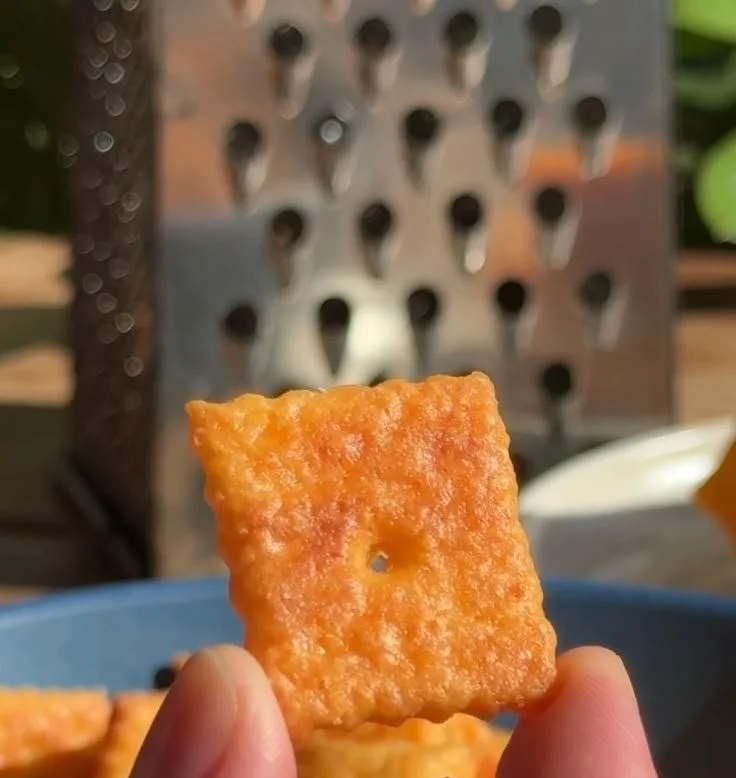
- For extra crunch, you can poke a hole in the center of each square before baking.
## Variations & Substitutions
- **Cheese Options**: Experiment with different cheeses like gouda, pepper jack, or mozzarella.
- **Herbs & Spices**: Try adding garlic powder, dried oregano, or paprika for a flavor boost.
- **Gluten-Free**: Substitute flour with a gluten-free blend.
## What to Serve With It
Serve your homemade Cheez-Its alongside:
- A creamy dip like ranch or spinach-artichoke.
- Fresh fruit or veggies for a balanced snack plate.
- A charcuterie board, complementing meats and cheeses.
## Storage & Reheating Instructions
- **Storage**: Keep the homemade Cheez-Its in an airtight container at room temperature for up to a week.
- **Reheating**: For a fresh-out-of-the-oven taste, reheat in the oven at 350°F for 5-7 minutes.
## Nutrition Information (approximate per serving)
- Calories: 150
- Total Fat: 10g
- Saturated Fat: 6g
- Cholesterol: 30mg
- Sodium: 200mg
- Carbohydrates: 10g
- Fiber: 0g
- Protein: 5g
## FAQs
**1. Can I make these Cheez-Its ahead of time?**
Yes! You can prepare the dough ahead of time and store it in the refrigerator for up to 2 days.
**2. Why did my Cheez-Its turn out chewy?**
This usually happens if they are underbaked or if the dough was too thick. Make sure to roll them thin and bake until golden.
**3. Can I freeze homemade Cheez-Its?**
Absolutely! Freeze them in a single layer, then transfer to a freezer bag for longer storage. Bake them directly from frozen.
**4. What are some good flavor pairings for homemade Cheez-Its?**
They pair beautifully with wine, beer, or even iced tea for a refreshing contrast.
## Conclusion
Now that you have this delightful recipe for **homemade Cheez-Its**, it’s your turn to make snacking special! Get your friends and family involved in the process for a fun activity, or whip up a batch just for you. Don’t forget to share your creations and let us know how your homemade Cheez-Its turned out! Happy snacking!
Homemade Cheez-Its
Delightful homemade Cheez-Its made with real cheese and simple pantry ingredients, perfect for snacking or parties.
Ingredients
Method
Preparation
- Preheat your oven to 350°F (175°C) and line a baking sheet with parchment paper.
- In a mixing bowl, combine the grated cheddar cheese, flour, butter, salt, and cayenne pepper. Mix until it resembles coarse crumbs.
- Gradually add cold water, one tablespoon at a time, until the dough begins to form. You might not need all the water.
- Roll the dough out on a lightly floured surface until it's about 1/8 inch thick.
- Use a pizza cutter or sharp knife to cut the dough into squares (about 1 inch).
- Transfer the squares to the prepared baking sheet, leaving a small space between each.
Baking
- Bake for 15-20 minutes or until golden brown and crisp. Keep an eye on them to avoid burning!
- Remove from the oven and let them cool before enjoying!
Notes
Store in an airtight container at room temperature for up to a week. For a fresh taste, reheat in the oven for 5-7 minutes at 350°F.

Name: Yumi HwagByline: Founder & Recipe Developer, YumimealsBio : Yumi tests weeknight-friendly air fryer, slow cooker, and BBQ recipes in a small home kitchen. She focuses on simple steps, real-family testing, and clear food-safety guidance. Contact: [email protected]