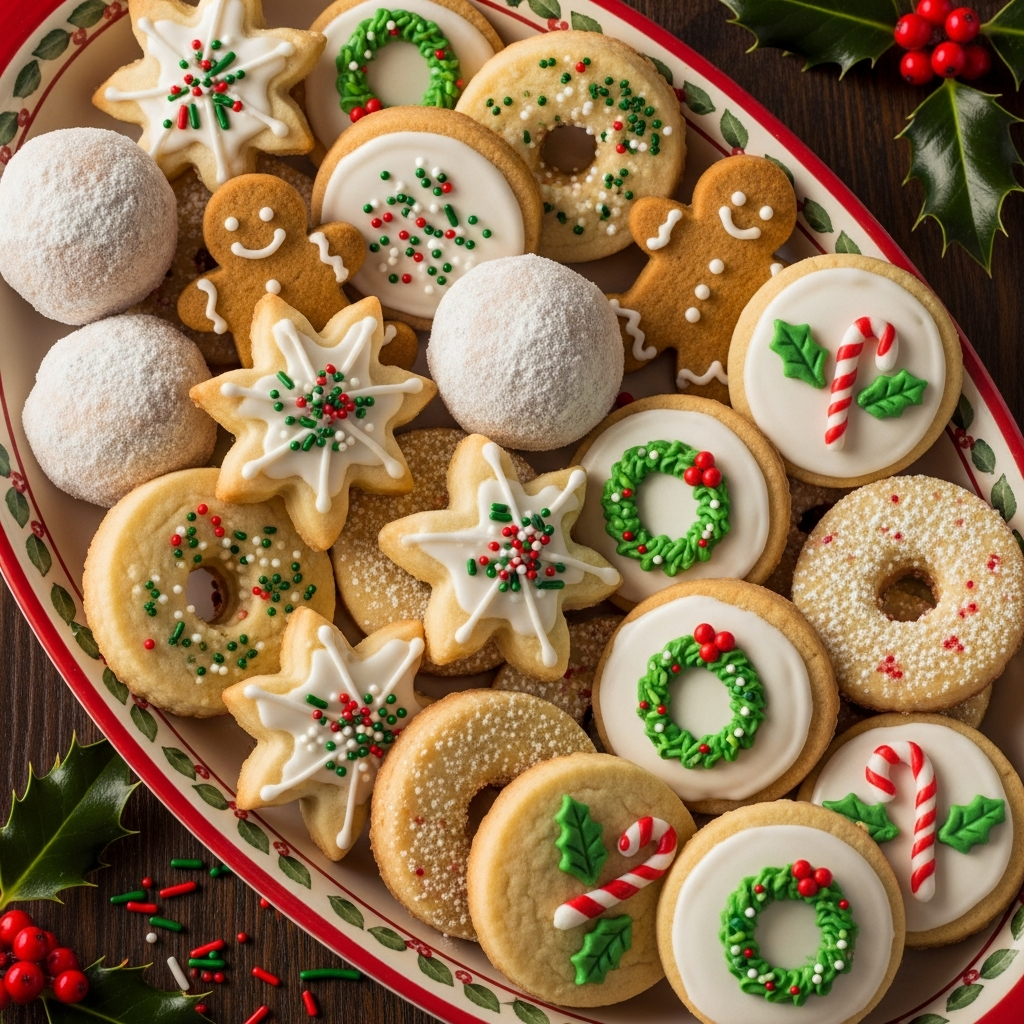
Have you ever bitten into a cookie that melts in your mouth like a sweet snowflake, leaving you craving just one more? The holiday season calls for special treats that create lasting memories, and Christmas butter cookies are the perfect answer to your festive baking needs. These tender, rich cookies dusted with powdered sugar have been a holiday staple for generations, and today I’m sharing my recipe for the gooiest, most irresistible version you’ll ever taste. Whether you’re hosting a cookie exchange or creating sweet gifts for neighbors, these gooey cookies, powdered sugar cookies, holiday cookie recipes will become your new December tradition.
Ingredients List
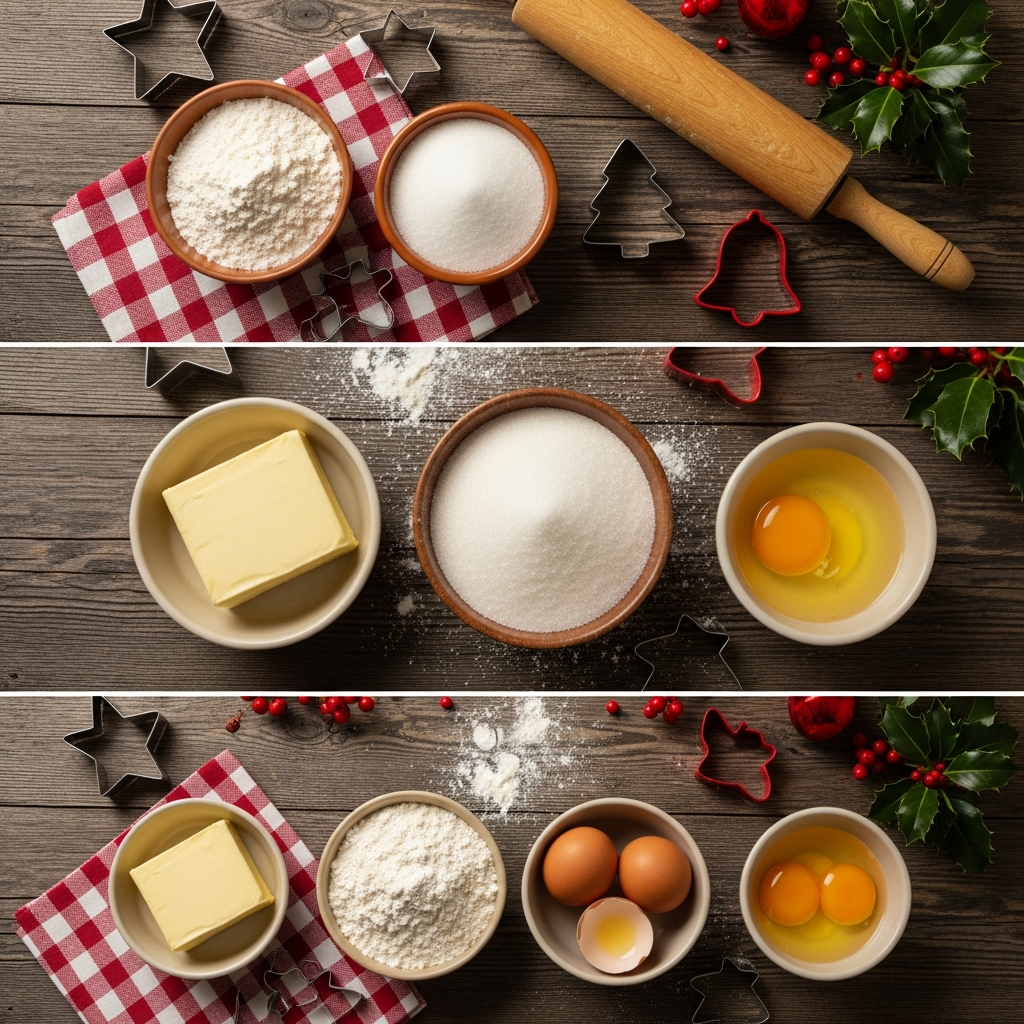
For the perfect batch of Christmas butter cookies that yields approximately 24 cookies, you’ll need:
- 1 cup (2 sticks) unsalted butter, softened to room temperature
- 2/3 cup granulated sugar
- 1 teaspoon pure vanilla extract
- 1/4 teaspoon almond extract (optional, but adds wonderful depth)
- 2 cups all-purpose flour
- 1/2 teaspoon salt
- 1 1/2 cups powdered sugar (for coating)
- Optional festive add-ins: 1/2 cup red and green sprinkles, crushed candy canes, or 1/3 cup finely chopped cranberries
Substitution Tips:
- For a dairy-free version, use high-quality plant-based butter sticks (not spread).
- Gluten-free all-purpose flour blend can replace regular flour (look for one with xanthan gum included).
- Coconut sugar can substitute for granulated sugar for a more caramel-like flavor.
Timing
Prep Time: 15 minutes (plus 30 minutes chilling time)
Baking Time: 12-14 minutes
Total Time: 1 hour
These Christmas butter cookies actually save you about 30 minutes compared to traditional cut-out cookies since they don’t require intricate decorating. The dough comes together in minutes, making them perfect for last-minute holiday gatherings or when you need a quick but impressive dessert.
Step 1: Prepare the Dough

In a large bowl, cream together the softened butter and granulated sugar until light and fluffy, about 3-4 minutes. This initial creaming is crucial for achieving that melt-in-your-mouth texture, so don’t rush this step! Add the vanilla extract and almond extract (if using), then beat until well combined.
Pro Tip: Make sure your butter is truly at room temperature—not melted or too cold. You should be able to easily press your finger into it without it feeling greasy.
Step 2: Mix the Dry Ingredients
In a separate bowl, whisk together the flour and salt. Gradually add this mixture to the butter mixture, beating on low speed until just combined. Be careful not to overmix, as this can make your cookies tough rather than tender.
Pro Tip: For extra tender cookies, replace 1/4 cup of all-purpose flour with cornstarch. This creates a texture similar to shortbread but with more gooey centers.
Step 3: Chill the Dough
Wrap the dough in plastic wrap and refrigerate for at least 30 minutes. This step is non-negotiable for achieving the perfect texture! Chilling allows the butter to solidify, which prevents the cookies from spreading too much during baking.
Pro Tip: You can make this dough up to 3 days ahead and keep it refrigerated, making your holiday baking schedule more manageable.
Step 4: Shape and Bake
Preheat your oven to 350°F (175°C) and line baking sheets with parchment paper. Remove dough from refrigerator and roll into 1-inch balls. If adding sprinkles or other mix-ins, gently fold them in before shaping.
Place the balls about 2 inches apart on the prepared baking sheets. Bake for 12-14 minutes, or until the bottoms are just barely golden (the tops should remain pale).
Pro Tip: For extra gooey centers, remove the cookies when they still look slightly underdone in the center—they’ll continue cooking on the hot baking sheet.
Step 5: Add the Signature Sugar Coating
Place powdered sugar in a shallow bowl. While the cookies are still warm (but not hot), gently roll them in the powdered sugar. Allow cookies to cool completely on a wire rack, then roll them in powdered sugar a second time for that classic snowball look.
Pro Tip: The double-coating is the secret to picture-perfect Christmas butter cookies that maintain their snowy appearance even after storage.
Nutritional Information
Per cookie (approximate values):
- Calories: 165
- Protein: 1g
- Carbohydrates: 21g
- Fat: 9g
- Fiber: 0.3g
- Sugar: 12g
Healthier Alternatives for the Recipe
If you’re looking to make these Christmas butter cookies more nutritious without sacrificing taste:
- Reduce sugar: Cut the granulated sugar to 1/2 cup and use a light dusting of powdered sugar instead of a heavy coating.
- Whole grain option: Replace half the all-purpose flour with white whole wheat flour for added fiber.
- For keto dieters: Use almond flour instead of all-purpose flour, and a sugar substitute like monk fruit sweetener or erythritol.
- Vegan version: Use plant-based butter and ensure your powdered sugar is vegan (some brands use bone char in processing).
Serving Suggestions
Elevate your Christmas butter cookies with these presentation ideas:
- Stack cookies in a clear gift bag tied with festive ribbon for homemade gifts
- Serve alongside hot chocolate with peppermint sticks for dipping
- Create a holiday cookie board with these as the centerpiece surrounded by gingerbread, chocolate chip, and shortbread cookies
- For a dinner party dessert, place a single cookie atop a scoop of vanilla ice cream and drizzle with warm caramel sauce
Common Mistakes to Avoid
- Using cold butter: This creates lumpy dough that won’t hold together properly.
- Skipping the chilling step: Results in flat, spread-out cookies rather than tender, puffy ones.
- Overbaking: These cookies should not brown on top—they’ll become dry instead of gooey.
- Rolling in powdered sugar when too hot: The sugar will melt and disappear; wait until they’re warm but not piping hot.
Storing Tips for the Recipe
These Christmas butter cookies actually improve with age! Store them in an airtight container at room temperature for up to 1 week. Place parchment paper between layers to preserve the powdered sugar coating.
For make-ahead options:
- Freeze baked cookies for up to 3 months (add fresh powdered sugar coating after thawing)
- Freeze shaped, unbaked dough balls for up to 2 months; bake directly from frozen, adding 2-3 minutes to the baking time
Conclusion
These gooey Christmas butter cookies embody everything wonderful about holiday baking—simplicity, tradition, and irresistible flavor. With their tender, melt-in-your-mouth texture and festive appearance, they’re guaranteed to become a staple in your holiday recipe collection. The best part? They’re versatile enough to please everyone from discerning foodies to picky children.
Ready to create some holiday magic in your kitchen? Start gathering your ingredients, put on your favorite Christmas playlist, and prepare for the heavenly aroma of butter cookies to fill your home. Don’t forget to take photos of your creations and share them with us in the comments below!
FAQs
Can I make these cookies without a stand mixer?
Absolutely! While a stand mixer makes the process easier, you can use a hand mixer or even mix by hand with a wooden spoon. Just ensure your butter is properly softened to achieve the right texture.
Why did my cookies spread too much during baking?
This typically happens when the dough wasn’t chilled enough or the butter was too warm. Make sure to refrigerate the dough for at least 30 minutes, and if your kitchen is very warm, consider chilling the shaped balls for 10 minutes before baking.
Can I add food coloring to make these more festive?
Yes! Gel food coloring works best. Divide the dough and add different colors to each portion for a variety of festive cookies. Just be aware that too much liquid food coloring can affect the texture.
How do I know when these cookies are done if they’re not supposed to brown?
The bottom edges should be just barely golden, while the tops remain pale. They will feel slightly firm on the outside but still soft in the center. Remember that they continue cooking slightly after removal from the oven.
Can I mail these cookies as gifts?
These cookies ship remarkably well! To preserve freshness, allow them to cool completely, then wrap pairs of cookies (bottom sides together) in plastic wrap before placing in an airtight container with cushioning material. Ship via expedited service during cooler weather for best results.

Name: Yumi Hwag
Byline: Founder & Recipe Developer, Yumimeals
Bio : Yumi tests weeknight-friendly air fryer, slow cooker, and BBQ recipes in a small home kitchen. She focuses on simple steps, real-family testing, and clear food-safety guidance. Contact: [email protected]