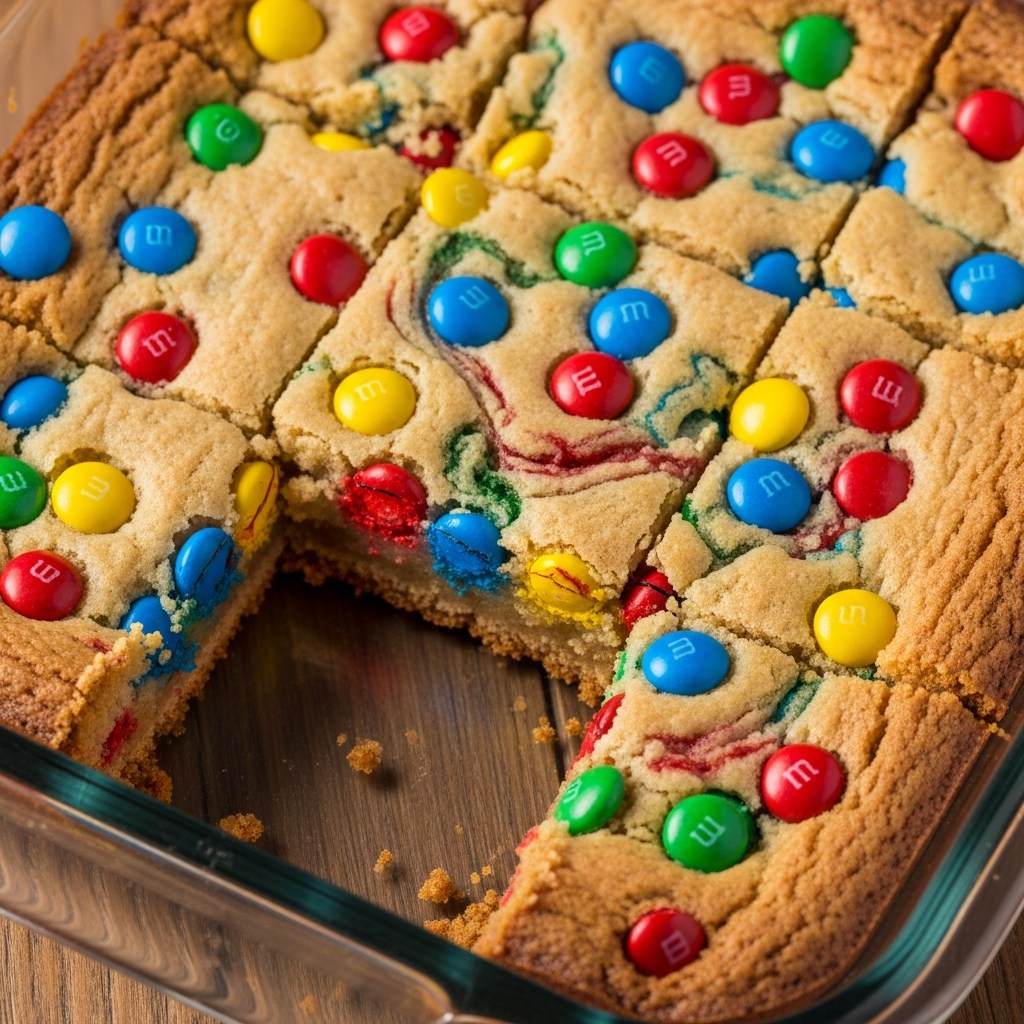
Are you looking for the perfect sweet treat to brighten your holiday dessert table this season? M&M cookie bars combine the classic comfort of homemade cookies with festive colors and easy preparation – making them an ideal choice for busy holiday bakers. These colorful, chewy bars deliver all the satisfaction of traditional cookies without the need to shape and bake multiple batches. Ready to bring some colorful cheer to your festive cookie bars, holiday baking, Christmas treats collection? Let’s dive into this crowd-pleasing recipe that will have everyone reaching for seconds!
Ingredients List
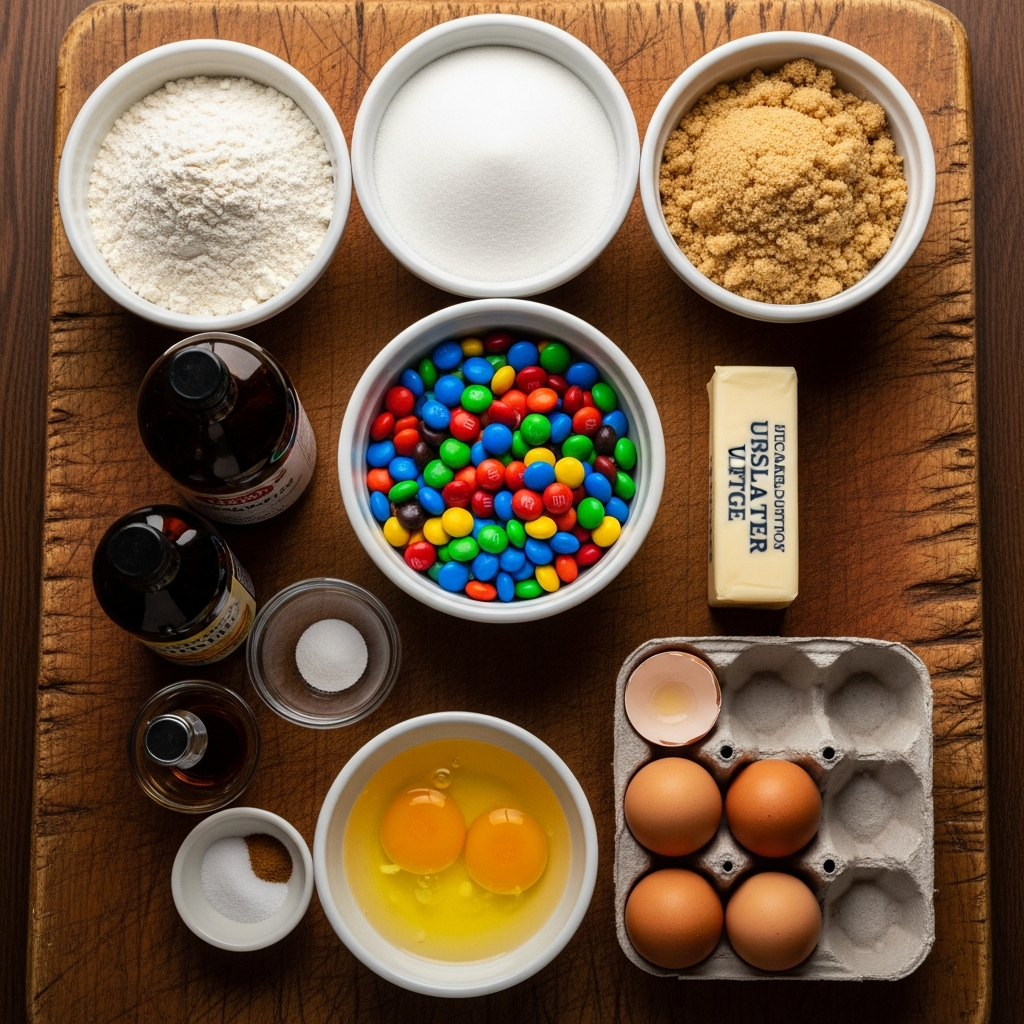
For the cookie bar base:
- 2¼ cups all-purpose flour
- 1 teaspoon baking soda
- ½ teaspoon salt
- 1 cup (2 sticks) unsalted butter, softened
- ¾ cup granulated sugar
- ¾ cup light brown sugar, packed
- 2 large eggs, room temperature
- 2 teaspoons vanilla extract
- 1½ cups holiday M&Ms (red and green for Christmas)
- ½ cup semi-sweet chocolate chips
Optional toppings:
- ½ cup additional holiday M&Ms for sprinkling on top
- ¼ cup white chocolate chips for drizzling
- Festive sprinkles
Ingredient Substitutions:
- For a nuttier flavor, substitute ¼ cup of flour with almond flour
- Dark brown sugar can replace light brown sugar for a deeper molasses flavor
- White chocolate chips can substitute for semi-sweet chocolate chips
- Use dairy-free butter and chocolate for a lactose-free version
Timing
Prep Time: 15 minutes
Most of this time involves measuring ingredients and preparing your baking pan – about half the time needed for traditional drop cookies!
Baking Time: 25-30 minutes
One-batch baking means no rotating cookie sheets or multiple oven timers
Cooling Time: 1 hour
Essential for proper cutting and texture development
Total Time: 1 hour 45 minutes
Save approximately 30 minutes compared to making individual cookies
Step-by-Step Instructions
Step 1: Prepare Your Baking Equipment

Preheat your oven to 350°F (175°C). Line a 9×13-inch baking pan with parchment paper, leaving some overhang on the sides to easily lift the bars out later. Lightly spray the parchment with non-stick cooking spray.
Pro tip: Use binder clips to secure the parchment paper to the pan edges while you’re adding the batter.
Step 2: Mix the Dry Ingredients
In a medium bowl, whisk together the flour, baking soda, and salt. This ensures even distribution of leavening agents and prevents clumping in your final product.
Pro tip: Sift the flour for extra-light cookie bars.
Step 3: Cream the Butter and Sugars
In a large bowl, use an electric mixer to beat the softened butter with both sugars until light and fluffy, about 2-3 minutes. Don’t rush this step – proper creaming incorporates air for the perfect texture.
Pro tip: Butter should be soft enough to leave a slight indent when pressed, but not melted.
Step 4: Add Eggs and Vanilla
Beat in eggs one at a time, then add the vanilla extract. Mix until completely incorporated and the mixture looks smooth and glossy.
Pro tip: Crack eggs into a separate small bowl first to avoid shell fragments in your batter.
Step 5: Combine Wet and Dry Ingredients
Gradually add the dry ingredients to the wet mixture, mixing on low speed until just combined. Overmixing can lead to tough cookie bars.
Step 6: Fold in M&Ms and Chocolate Chips
Gently fold in 1 cup of the holiday M&Ms and all of the chocolate chips using a rubber spatula. Reserve the remaining ½ cup of M&Ms for topping.
Pro tip: Coat the candies in a tablespoon of flour before adding to prevent sinking.
Step 7: Transfer to Baking Pan and Decorate
Spread the batter evenly in the prepared baking pan. Sprinkle the reserved M&Ms over the top, pressing them lightly into the surface.
Pro tip: For an extra festive look, arrange some M&Ms in patterns or shapes on top.
Step 8: Bake to Perfection
Bake for 25-30 minutes until the edges are lightly golden and a toothpick inserted in the center comes out with a few moist crumbs. Don’t overbake – the center should still seem slightly soft.
Pro tip: Rotate the pan halfway through baking for even browning.
Step 9: Cool and Finish
Let the cookie bars cool completely in the pan on a wire rack, about 1 hour. Once cooled, lift out using the parchment overhang and cut into squares.
Optional: Drizzle with melted white chocolate and add festive sprinkles for extra holiday cheer.
Nutritional Information
Per serving (1 bar, approximately 2×2 inches):
- Calories: 245
- Protein: 3g
- Carbohydrates: 32g
- Fat: 12g
- Fiber: 1g
- Sugar: 21g
- Calcium: 20mg
- Iron: 1mg
Values are approximate and may vary based on specific ingredients used.
Healthier Alternatives for the Recipe
- Lower Sugar Version: Reduce sugars to ½ cup each and use dark chocolate M&Ms
- Gluten-Free Option: Substitute all-purpose flour with a 1:1 gluten-free baking flour blend
- Whole Grain Variation: Replace half the all-purpose flour with white whole wheat flour
- Vegan Alternative: Use plant-based butter, flax eggs (1 tablespoon ground flaxseed mixed with 3 tablespoons water per egg), and dairy-free chocolate candies
Serving Suggestions
- Serve slightly warm with a scoop of vanilla ice cream for an indulgent dessert
- Pair with hot chocolate topped with whipped cream for the ultimate holiday treat
- Create a dessert charcuterie board with these bars as the centerpiece, surrounded by fresh berries and mint sprigs
- Package in holiday tins with parchment paper dividers for a homemade gift
Common Mistakes to Avoid
- Overbaking: This leads to dry, hard bars. Remove from the oven when the center still looks slightly underdone
- Using cold ingredients: Room temperature eggs and butter are essential for proper incorporation
- Cutting too soon: Patience is key – cutting before completely cool will result in messy edges
- Skipping the parchment paper: This crucial step prevents sticking and makes removal easy
- Uneven spreading: Take time to spread the batter evenly in the corners for uniform baking
Storing Tips for the Recipe
- Counter Storage: Keep in an airtight container at room temperature for up to 5 days
- Refrigerator: Store for up to 1 week in a sealed container
- Freezer: Wrap individual bars in plastic wrap, then aluminum foil, and freeze for up to 3 months
- Make Ahead: Prepare the dough up to 2 days ahead and refrigerate until ready to bake
- Reheating: Microwave individual bars for 10-15 seconds to restore that fresh-baked texture
Conclusion
These festive M&M cookie bars are more than just a sweet treat – they’re a holiday tradition in the making. The combination of buttery cookie base studded with colorful candies creates the perfect balance of flavor, texture, and visual appeal. Whether you’re hosting a holiday gathering, contributing to a cookie exchange, or simply creating memories in the kitchen with loved ones, these bars deliver maximum impact with minimum effort. Give this recipe a try and watch how quickly they disappear from your holiday dessert table!
FAQs
Can I use different colored M&Ms for other holidays?
Absolutely! Use pastel colors for Easter, red and pink for Valentine’s Day, or team colors for game day celebrations. The versatility makes this a year-round favorite.
Why did my cookie bars turn out dry?
Overbaking is usually the culprit. Remember that the bars continue to bake slightly after removal from the oven. Also, accurately measuring flour (use the spoon and level method) prevents adding too much dry ingredient.
Can I add nuts to this recipe?
Yes! Add ½ cup of chopped walnuts, pecans, or macadamia nuts along with the M&Ms for added texture and flavor.
How do I know when the bars are done baking?
The edges should be golden brown and slightly pulling away from the sides of the pan. A toothpick inserted in the center should come out with a few moist crumbs, but not wet batter.
Can I double this recipe?
Yes! Double all ingredients and bake in two 9×13-inch pans, or use a larger sheet pan (approximately 13×18-inch) and increase baking time by 5-10 minutes.

Name: Yumi Hwag
Byline: Founder & Recipe Developer, Yumimeals
Bio : Yumi tests weeknight-friendly air fryer, slow cooker, and BBQ recipes in a small home kitchen. She focuses on simple steps, real-family testing, and clear food-safety guidance. Contact: [email protected]